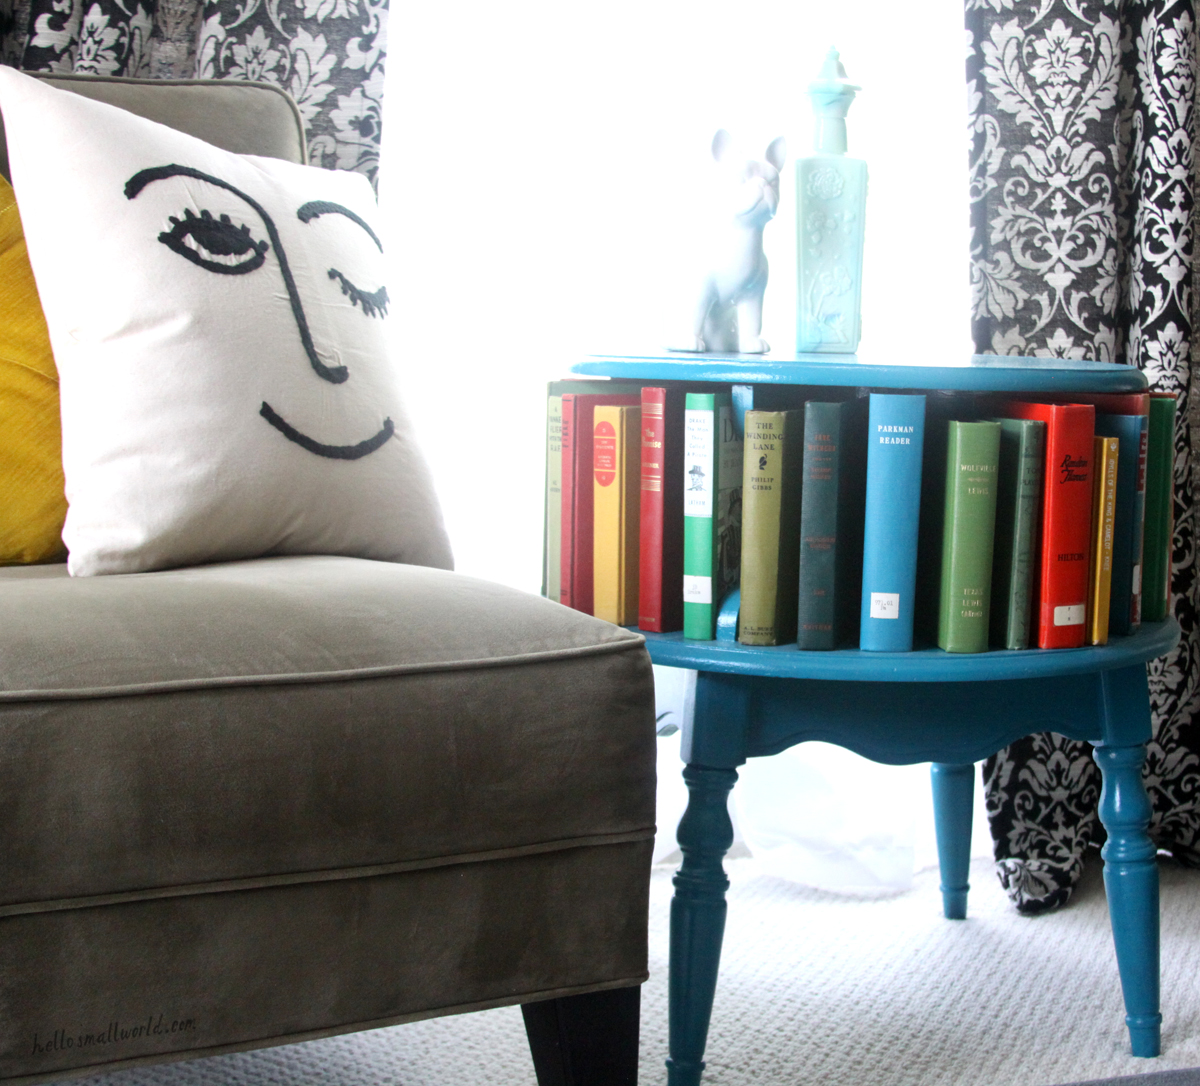
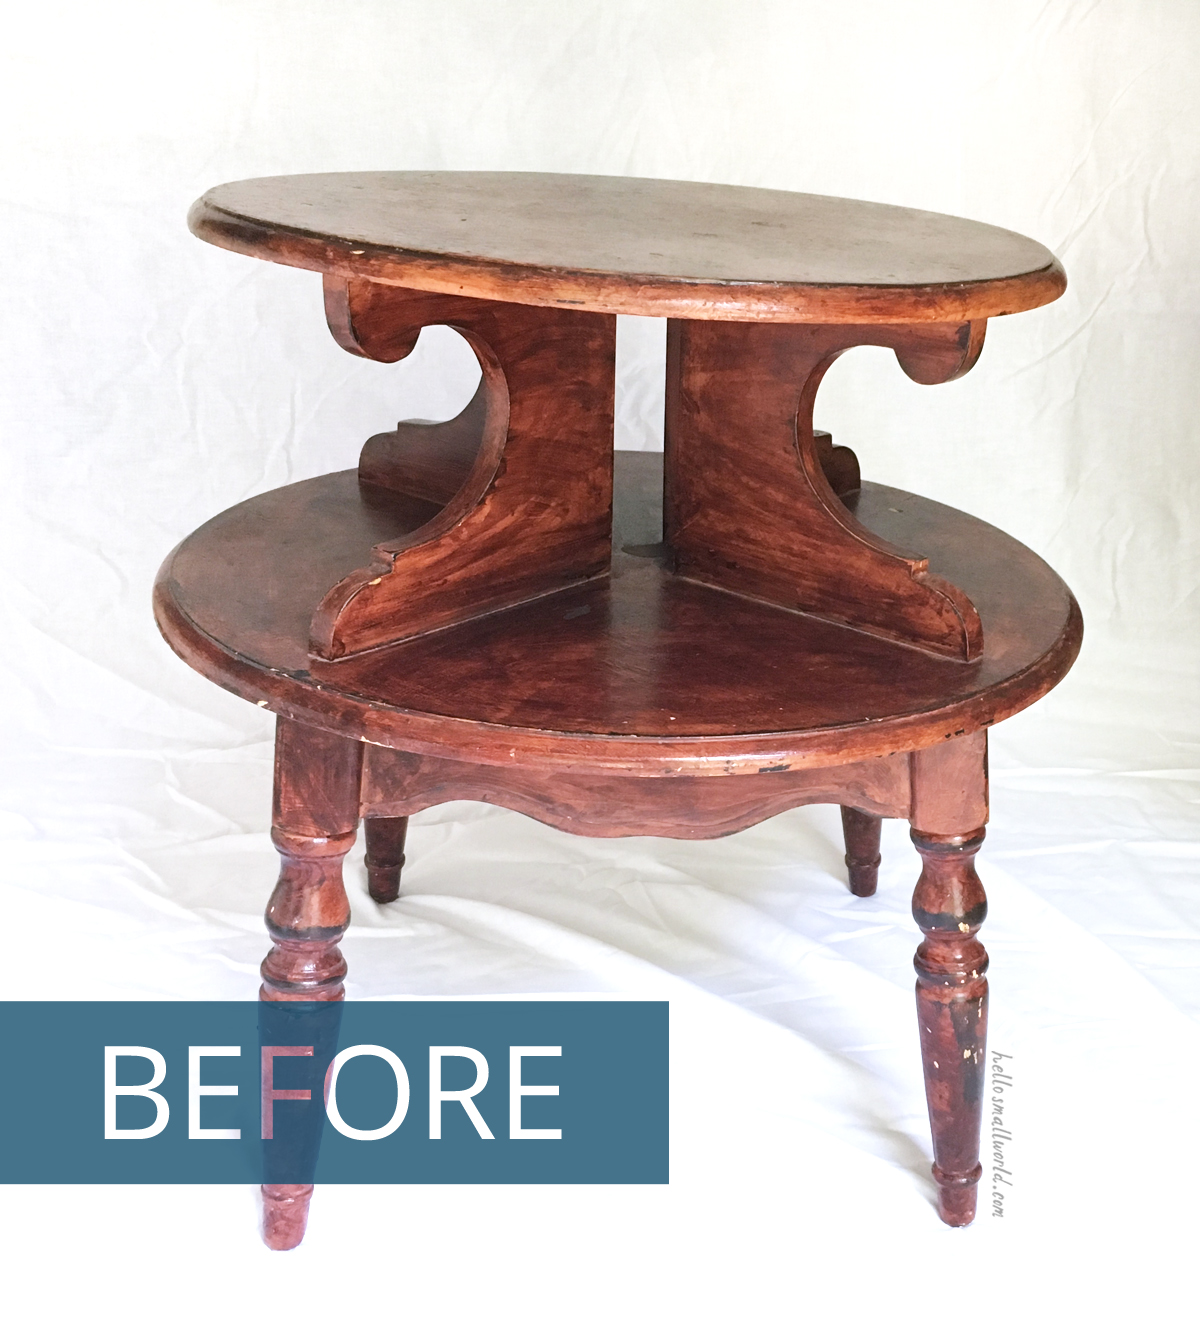
I’m so thrilled with how this table turned out! When I set out to find a table for this little reading nook (ok, that includes magazines 🙂 too) I only had an idea of the size I wanted to find. When I found this table at a local thrift store it didn’t look great. It had been stained lumpy & unevenly.
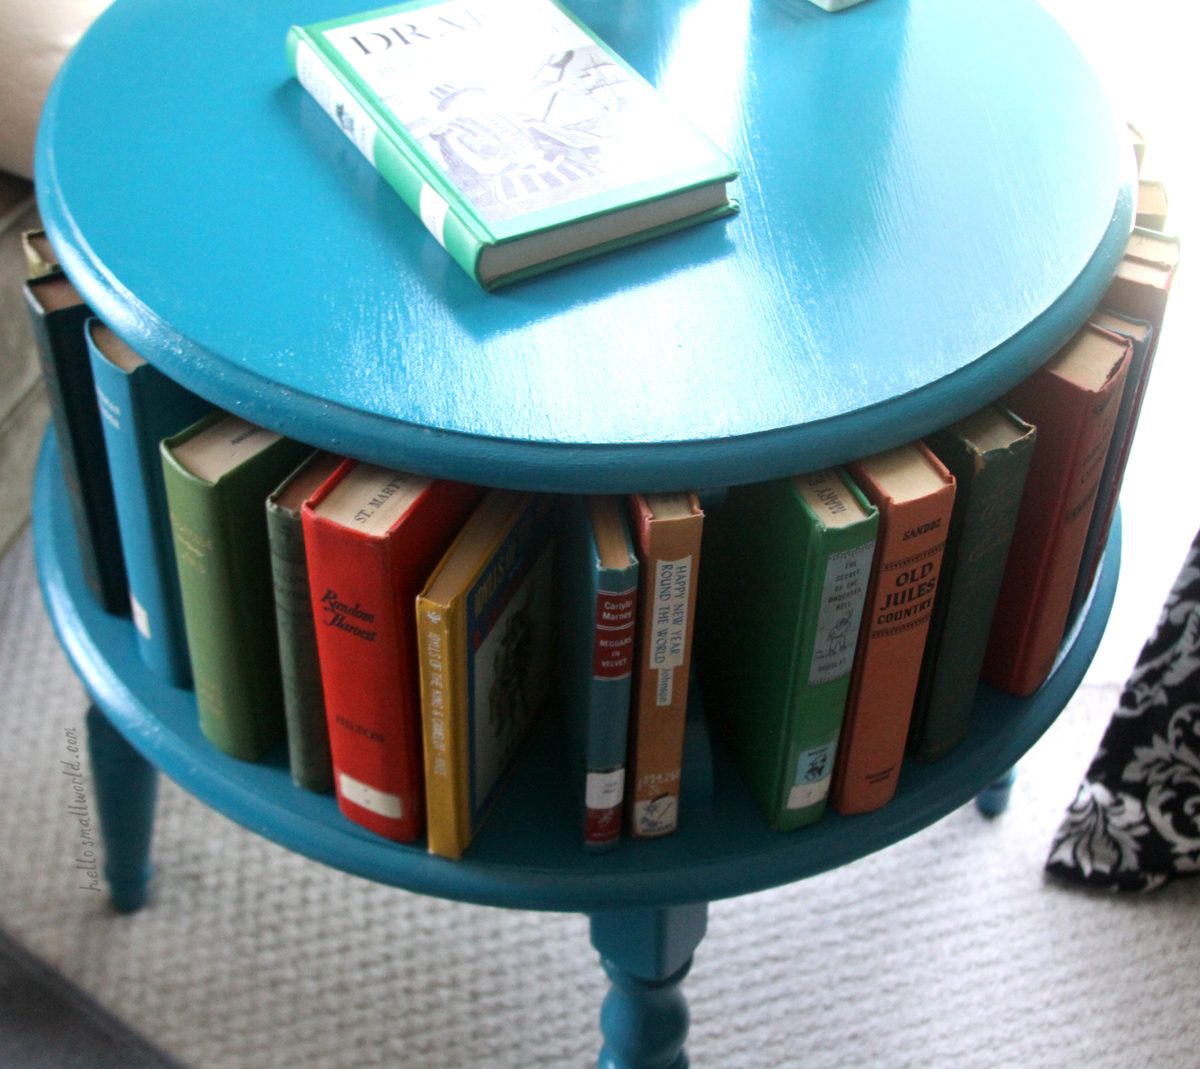
It was a good price so I thought it might be fun to have a table that displayed books for the space — even though we didn’t have enough cute books to fit when I found the table. Haha. So, I snatched it up for $6 and brought it home.
When looking for thrifted furniture I try to be really open minded about how rough it looks at first sight. The main thing to focus on is the size you need and if it’s in good, stable condition — unless you feel confident in fixing wobbly furniture. I generally don’t buy things that need to be repaired structurally to be used. Bad paint colors & stain are much easier to tackle for a furniture DIY.
Once you find your piece of thrifted furniture, if it needs work and isn’t cute as-is, make sure you like it in the space first, before you spend tons of time on it.
After you decide the furniture is a good fit, it’s time for its transformation.
Step 1: Sanding. I sanded this table with a palm sander for the top & most of the shelf. I had to hand sand the legs and the little nooks & crannies on the self.
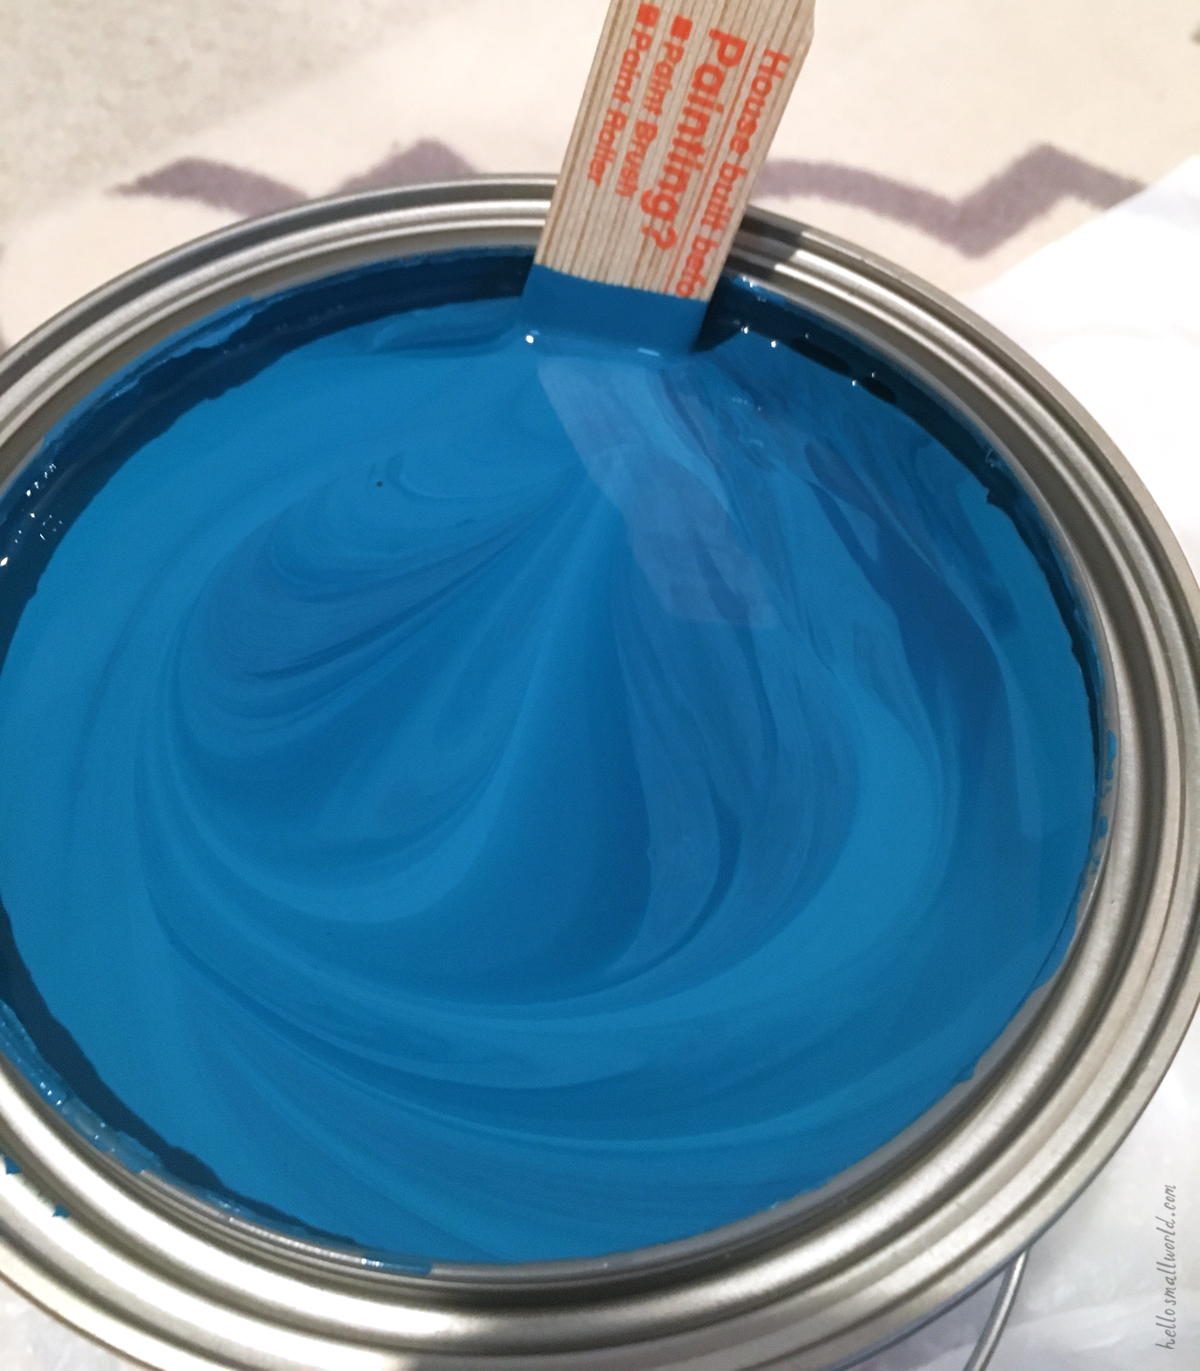
Step 2: Pick you paint color! This is my favorite part of any painted thrift store furniture project. For this table I knew I wanted a bold color, but I didn’t want it to be too bright or to clash with any of the book colors I wanted to use. I found The Real Teal at my local Home Depot.
Step 3: Paint. It took me 3 coats to get the color to cover evenly. I painted it all with a 1.5” paint brush.
Step 4: Let dry. I let this table dry 48 hours before I put anything on it.
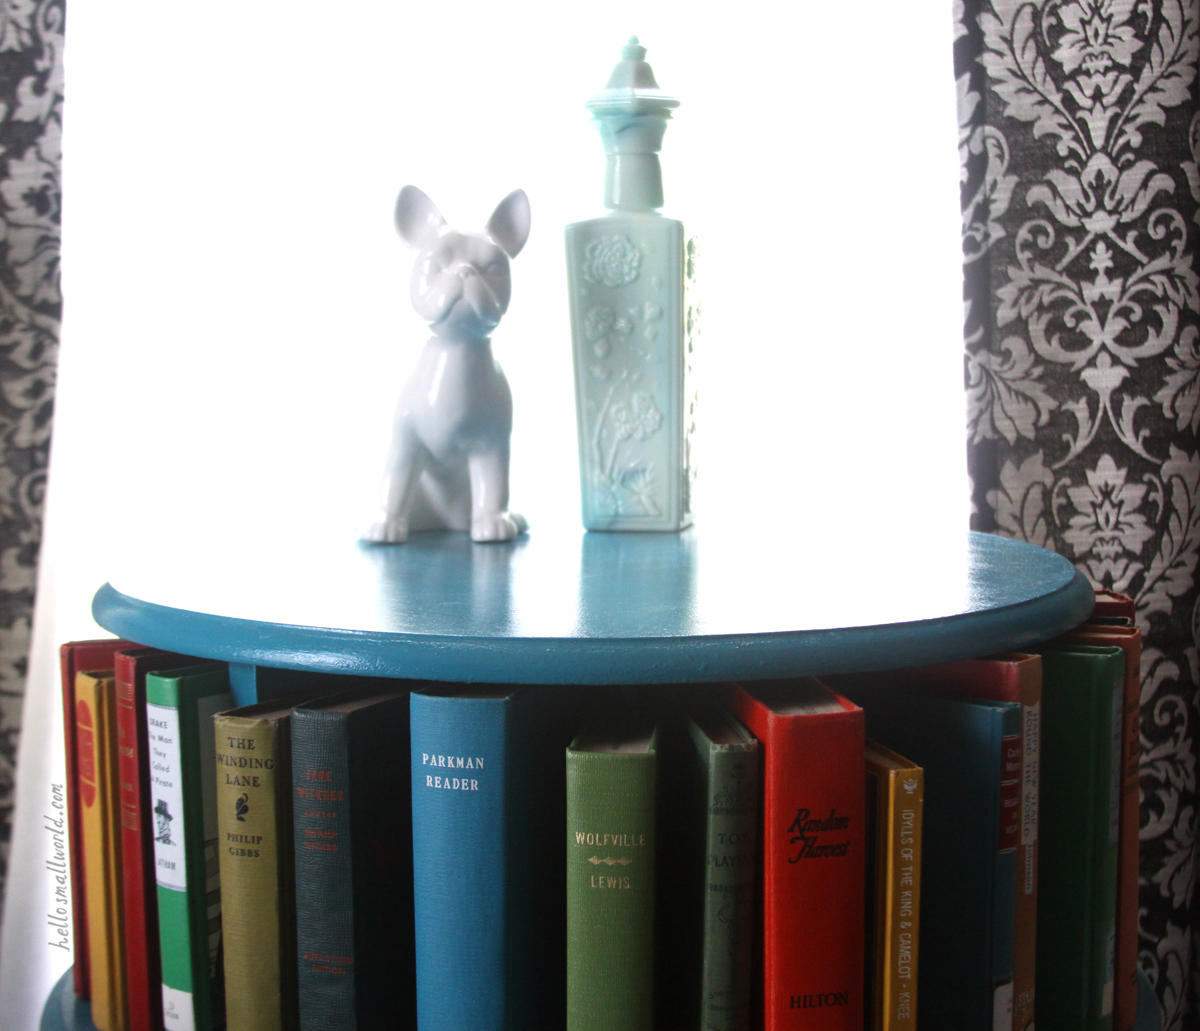
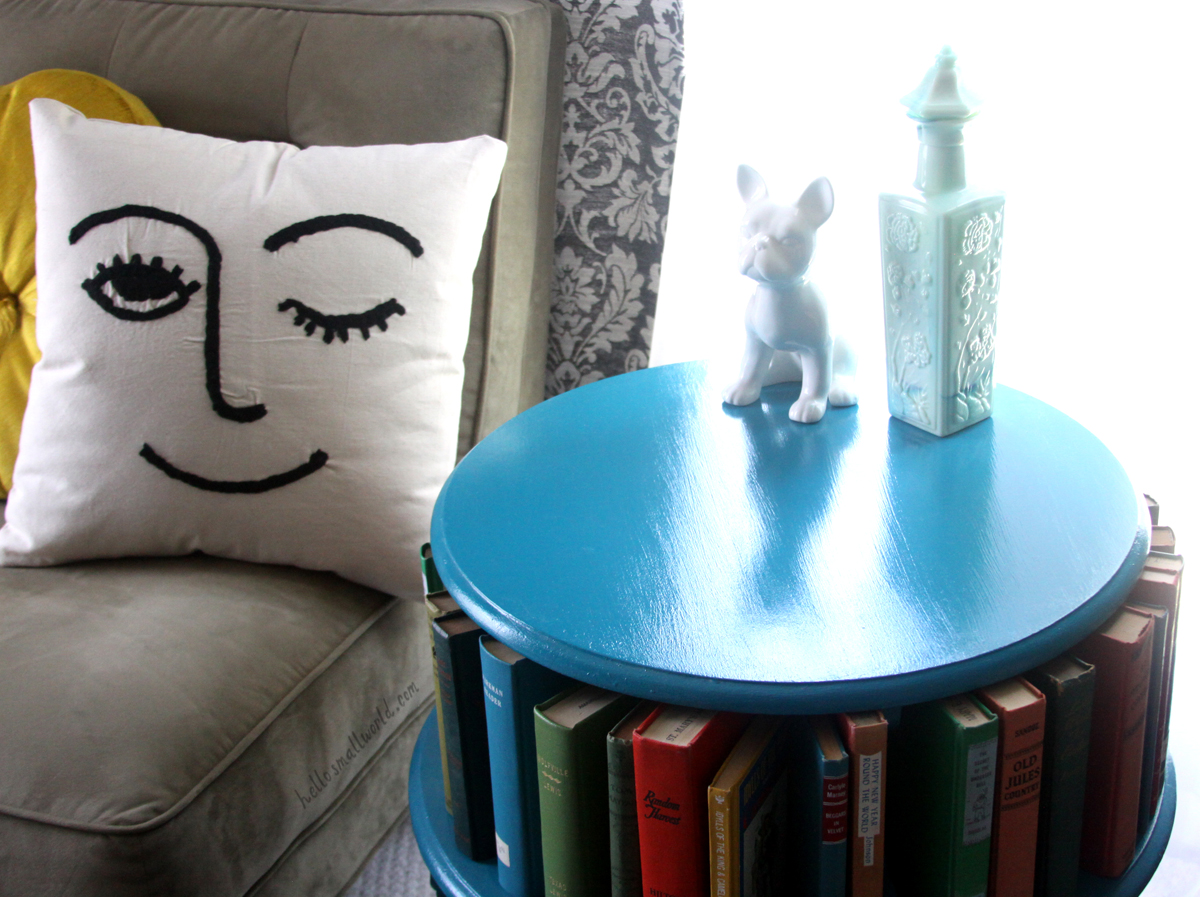
Done!

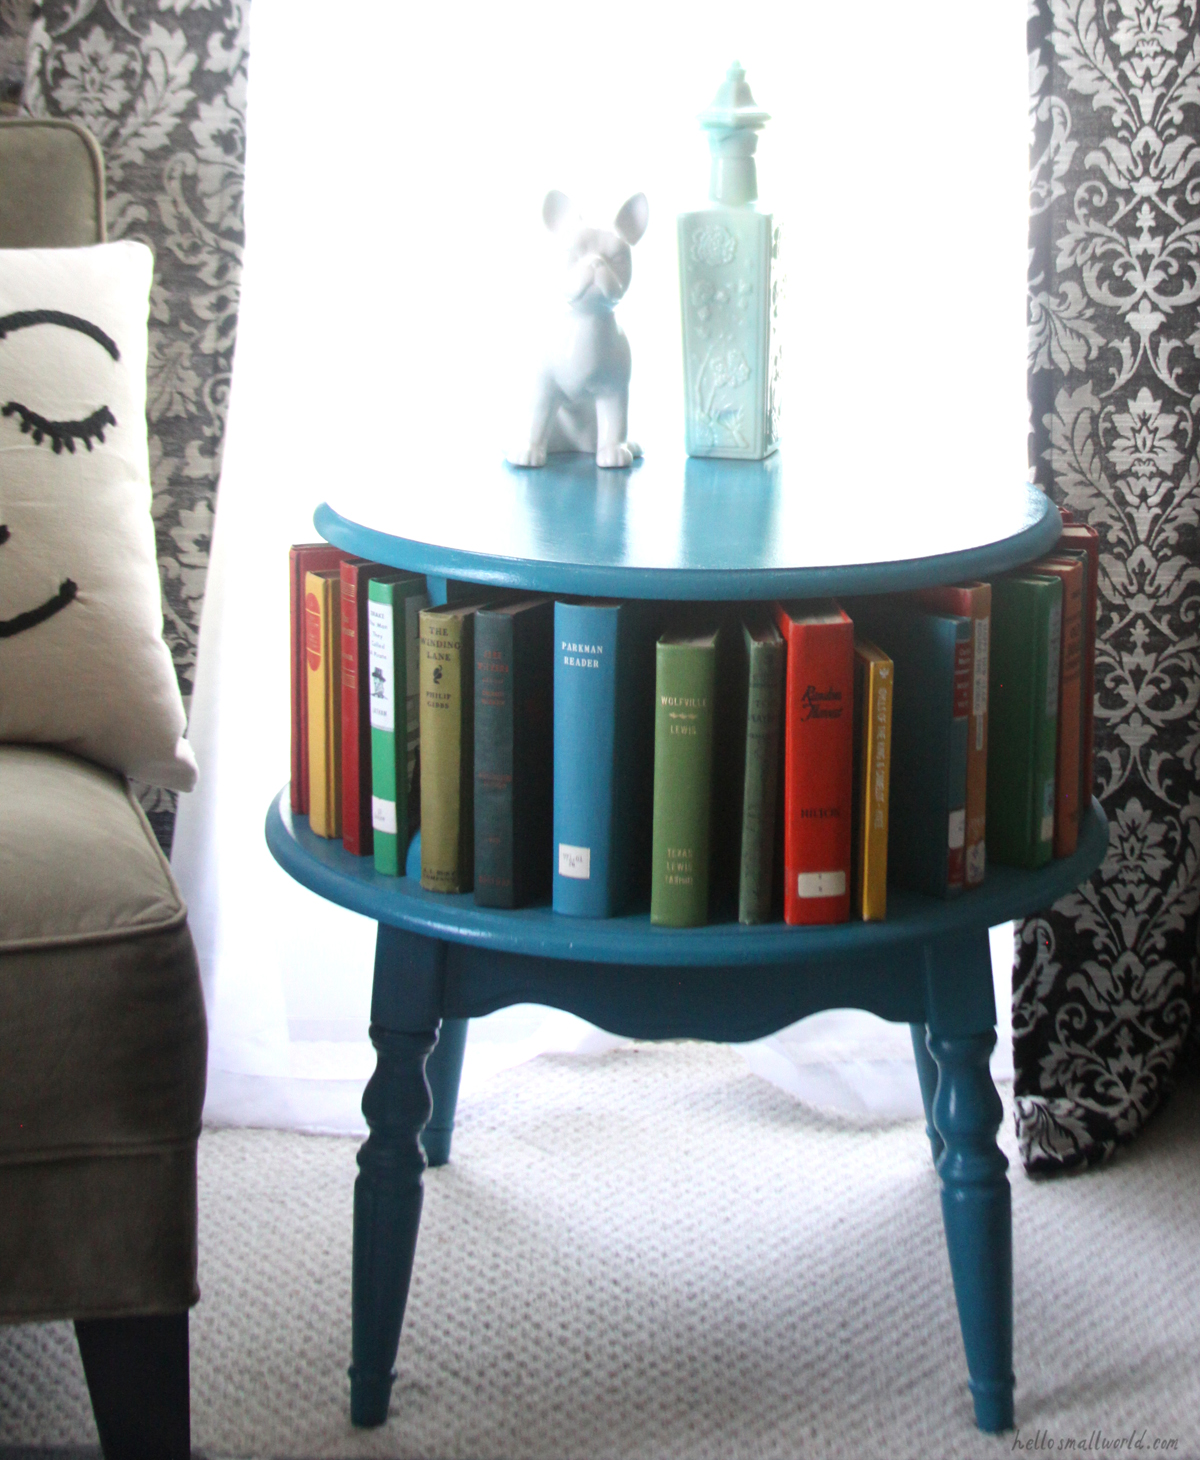
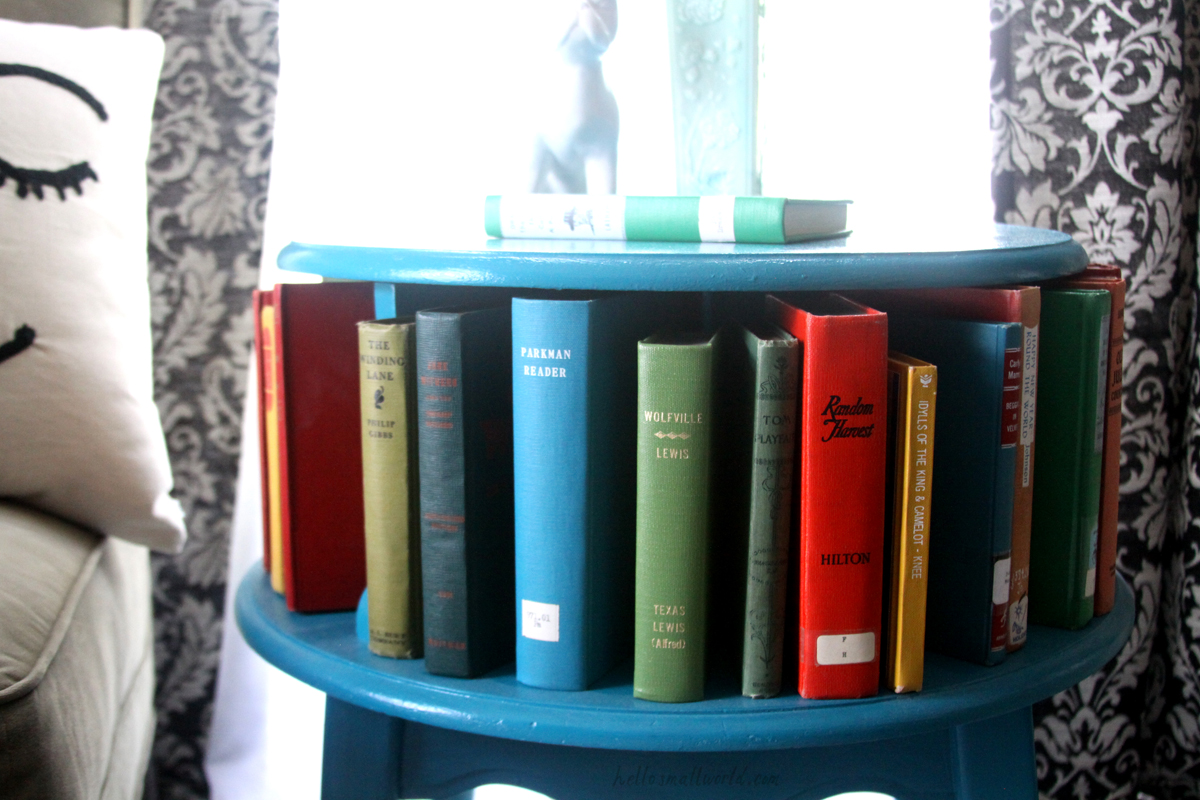
I had to find the books after I painted the table so I didn’t add books for several months after I had finished painting it. I didn’t measure for the book height originally and ended up buying some that were too tall. Soooo, Step 5, measure for books before buying!
xo -Reese