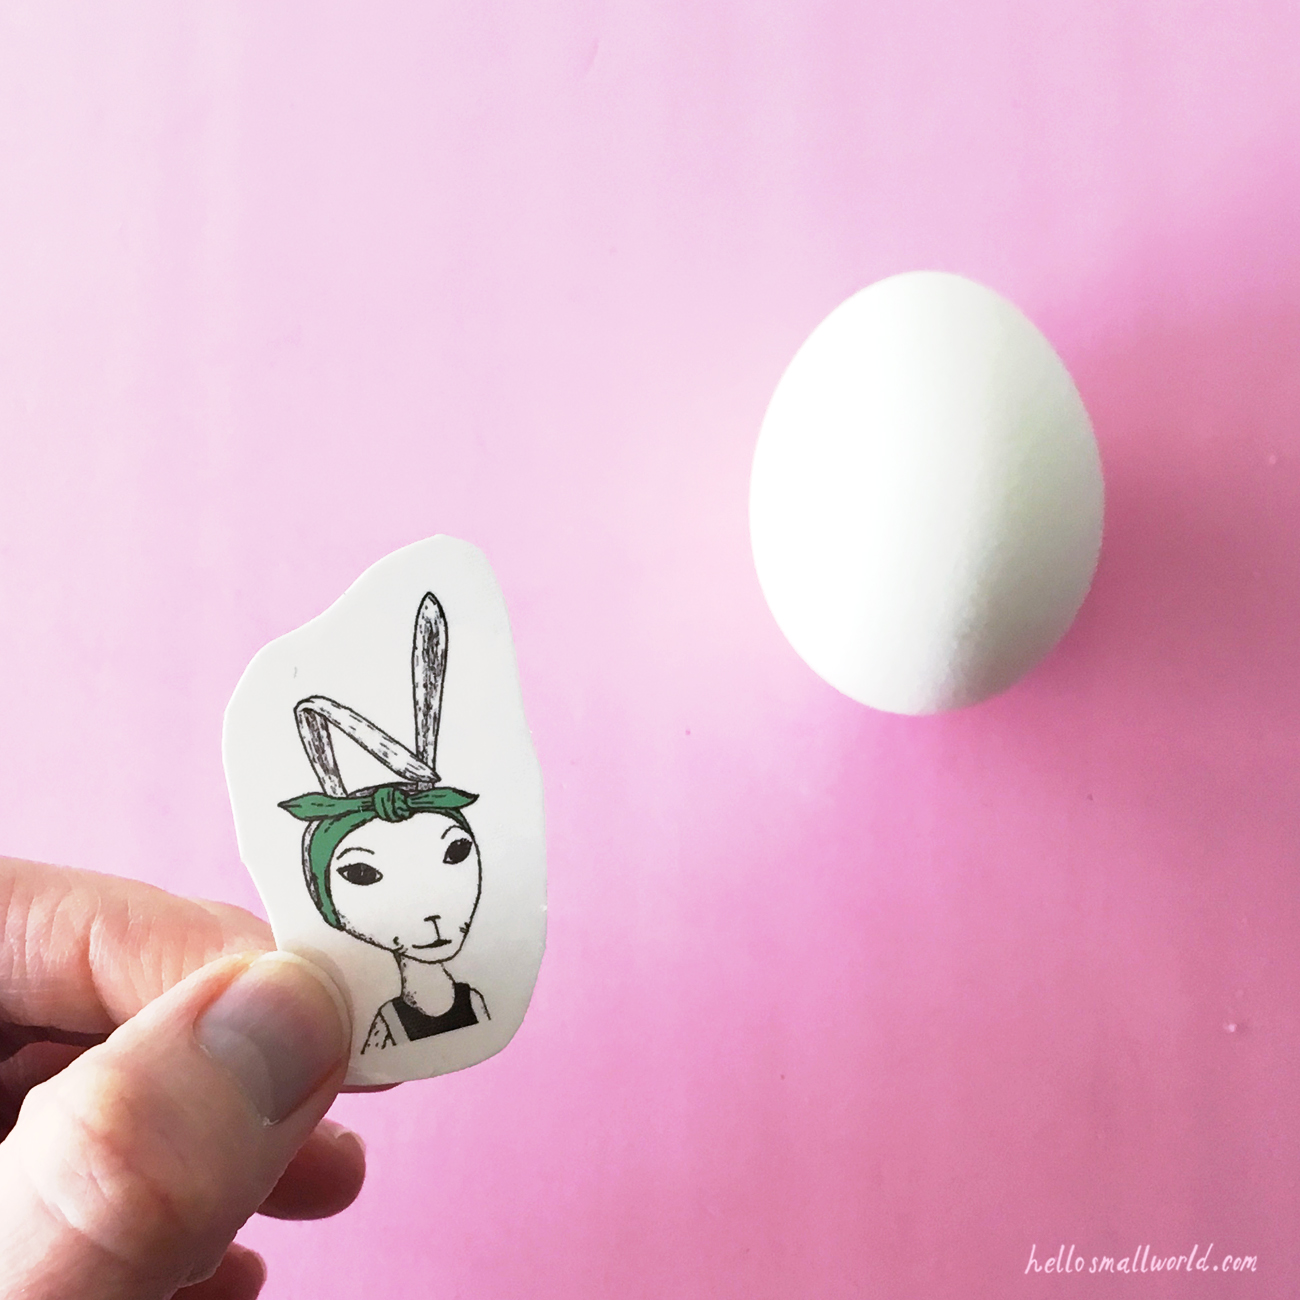
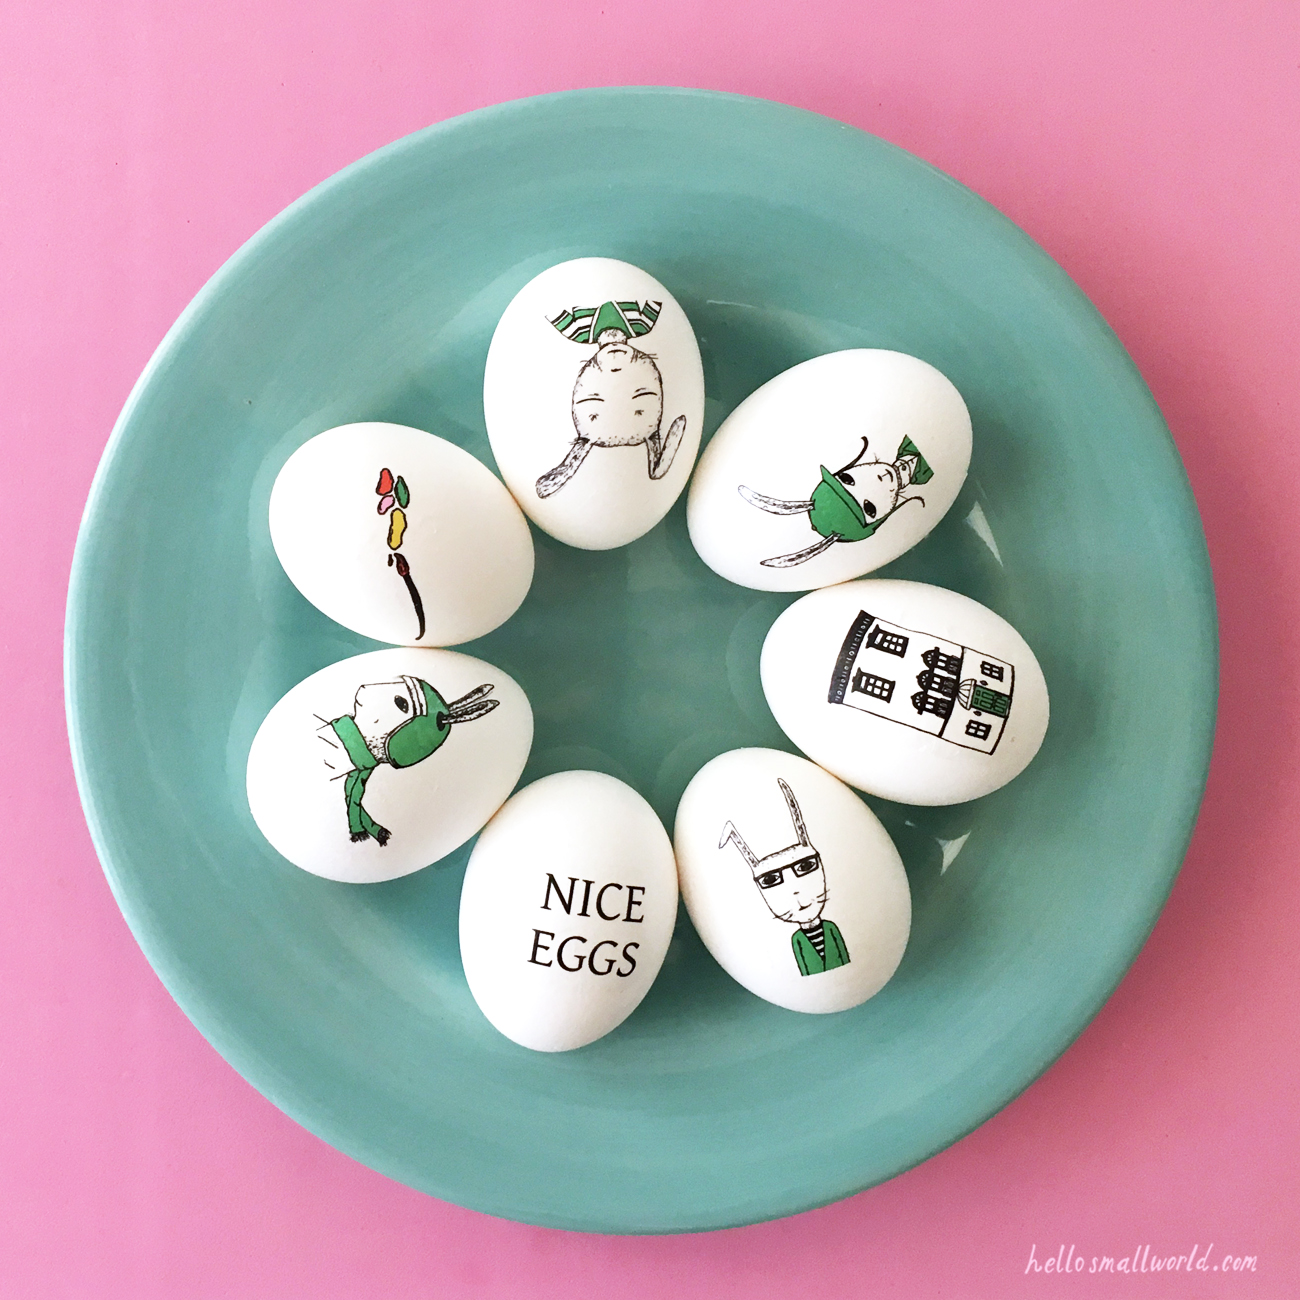
This year I wanted to try an unconventional Easter egg decorating idea and temporary tattoos on eggs sounded interesting. It’s an easy & mess free last minute Easter egg idea, plus it’s pretty fun!
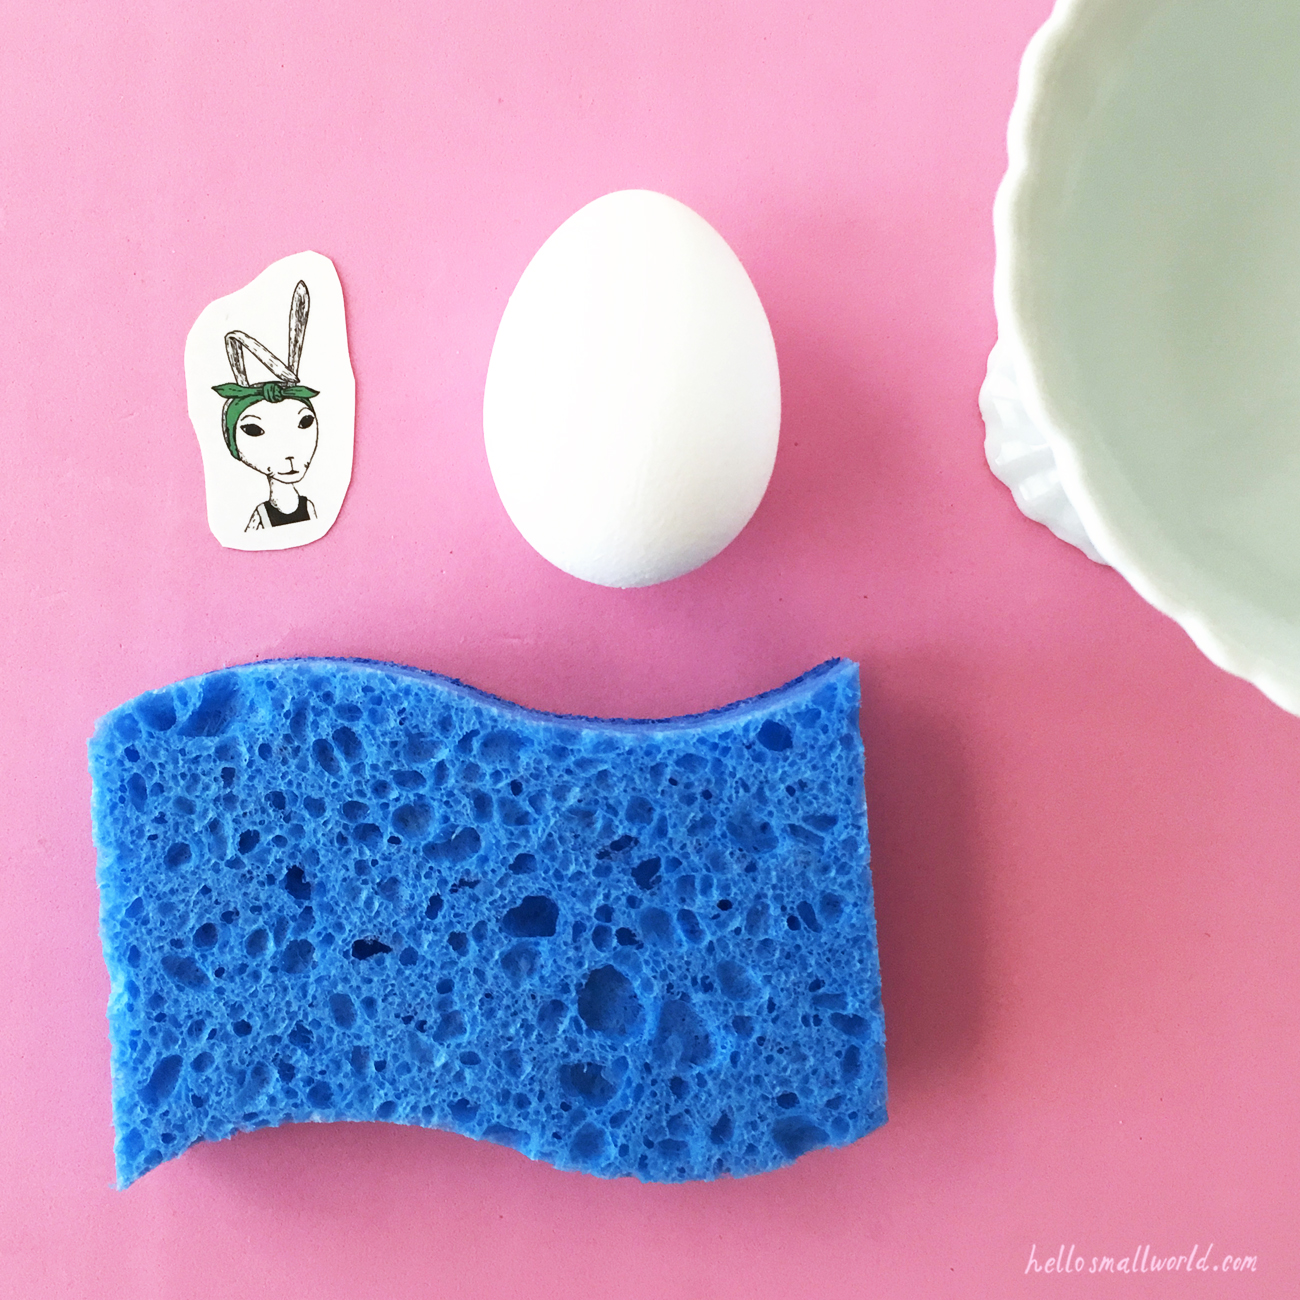
For your own DIY temporary tattoo Easter eggs, you just need 7 items. Bonus, you probably already have most of them!
SUPPLIES:
1) Temporary tattoo paper, I used Silhouette Temporary Tattoo Paper
2) Design files or photos
3) Printer
4) Water
5) Scissors, Silhouette or Cricut
6) Sponge or paper towel
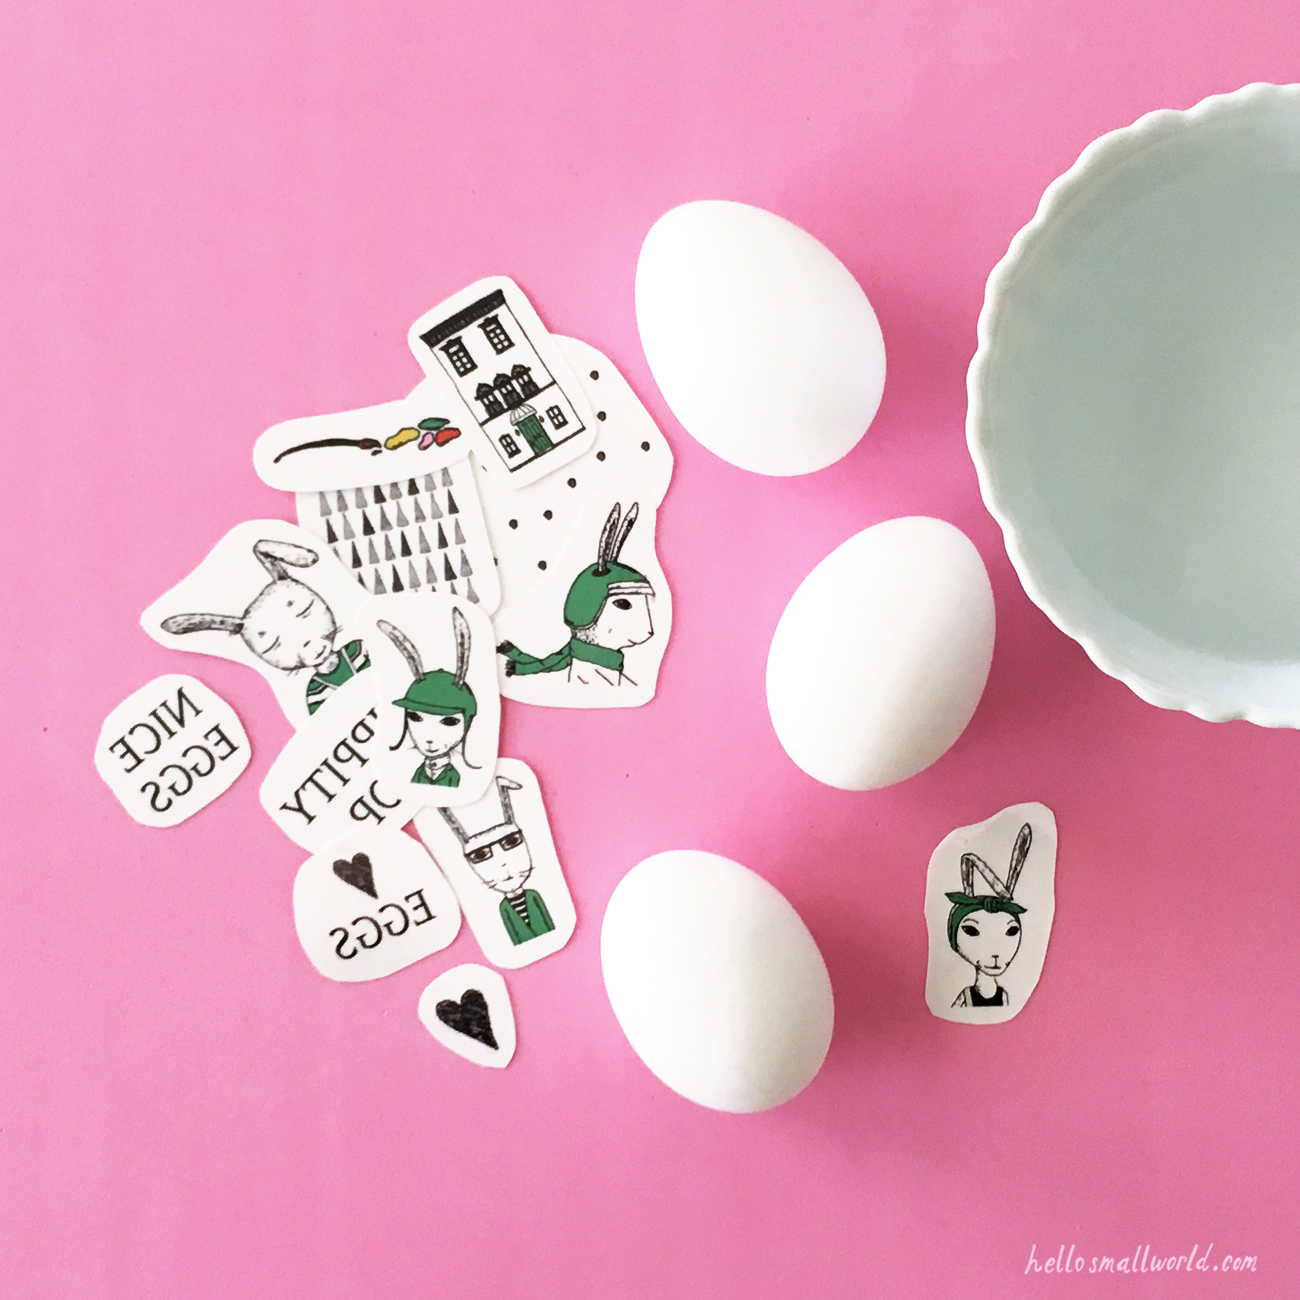
7) Eggs
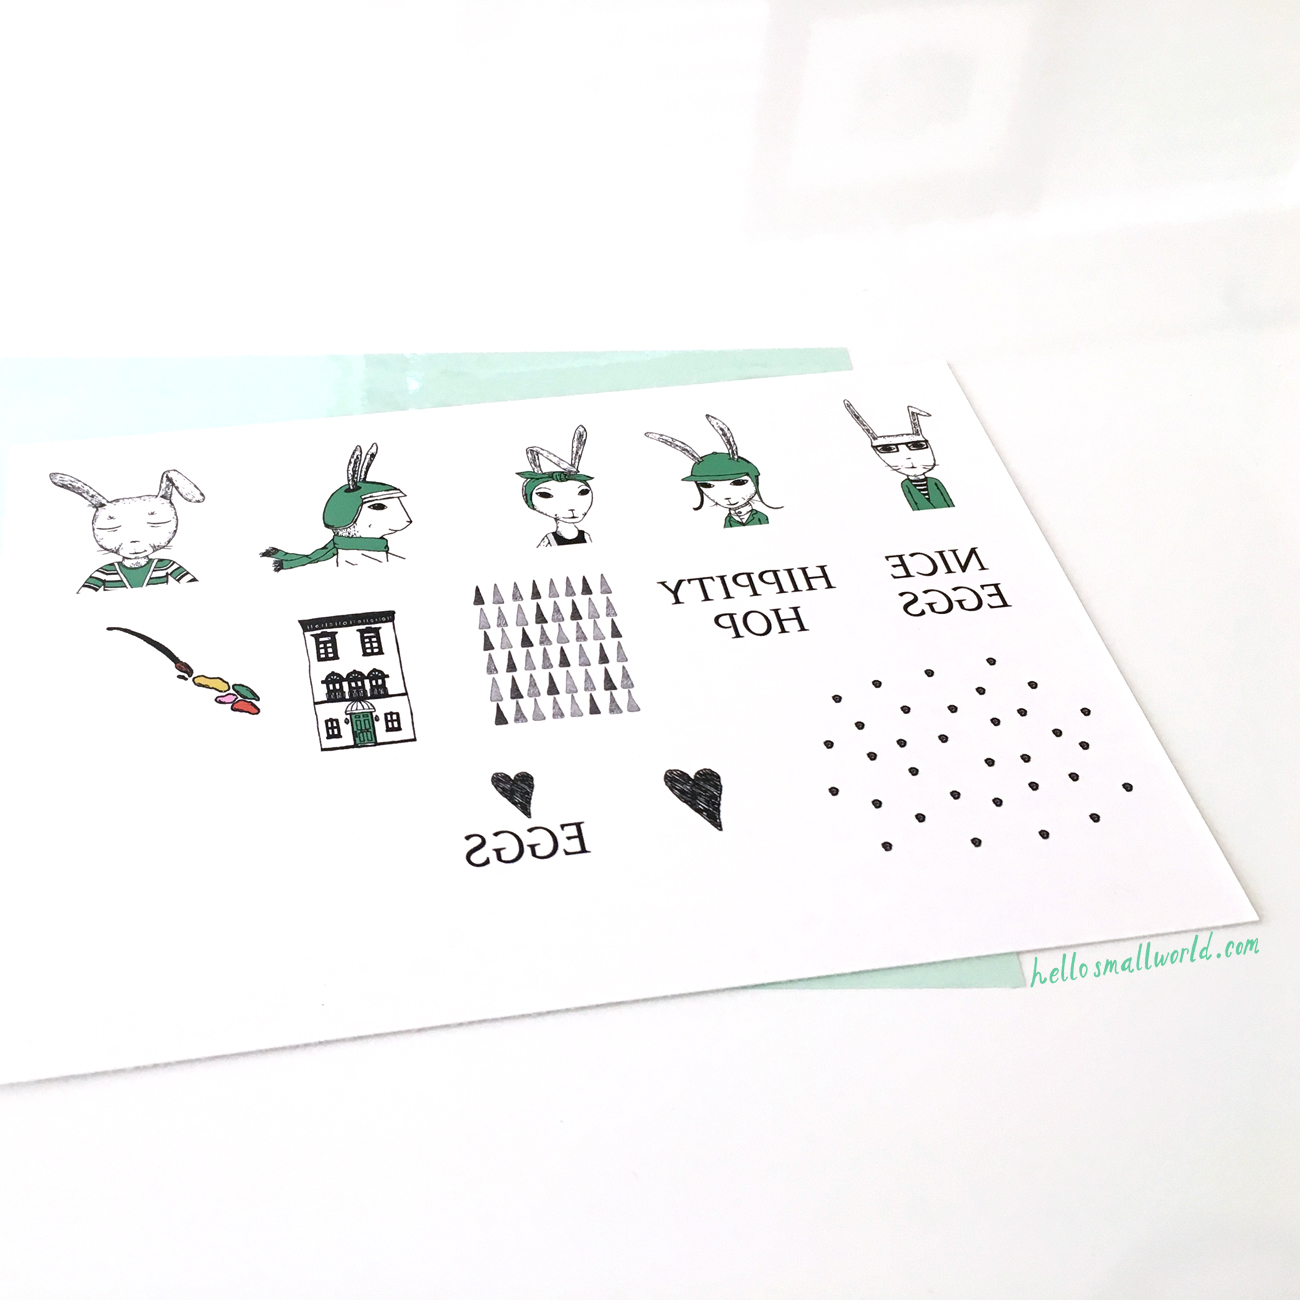
Once you pick your designs or photos, just print them onto the tattoo paper. This step seems really easy & it is pretty easy, but I had never used DIY temporary tattoo paper before and was surprised at first that there were 4 sheets in my pack of 2. By the way, it’s kind of expensive for only 2 sheets of temporary tattoo paper at almost $9 so I didn’t want to mess up. After reading the directions a few times, I tried it out.
You print onto the glossy side of the white paper included in the pack and once the ink dries you have to pull off the green sheet from the other plastic-like piece of paper and stick the plastic onto the top of the printed design.
**MAKE SURE TO PRINT A MIRROR IMAGE OF FILE**
Yep, I cut my temporary tattoo paper before applying the adhesive because I wanted to save the rest for another time. 🙂
You have to apply the clear adhesive sheet on smoothly without any wrinkles. It’s like applying vinyl from a Silhouette or Cricut. I wasn’t careful enough when I did mine and I ended up smearing one of the images.
After the adhesive sheet was applied, I cut all of mine out with scissors. You can use a Silhouette or Cricut and cut them out perfectly, but since I was just going to apply these to the eggs I decided to cut them out by hand.

Once cut out, the temporary tattoos are ready to be applied to the eggs.
You just need water and a sponge or paper towel.
I started out with a new sponge, but it added too much water and my first few tries with the temporary tattoos were big FAILS. The water made my egg tattoos smear like this. After the first few I switched to a paper towel that was barely damp and it worked much better.
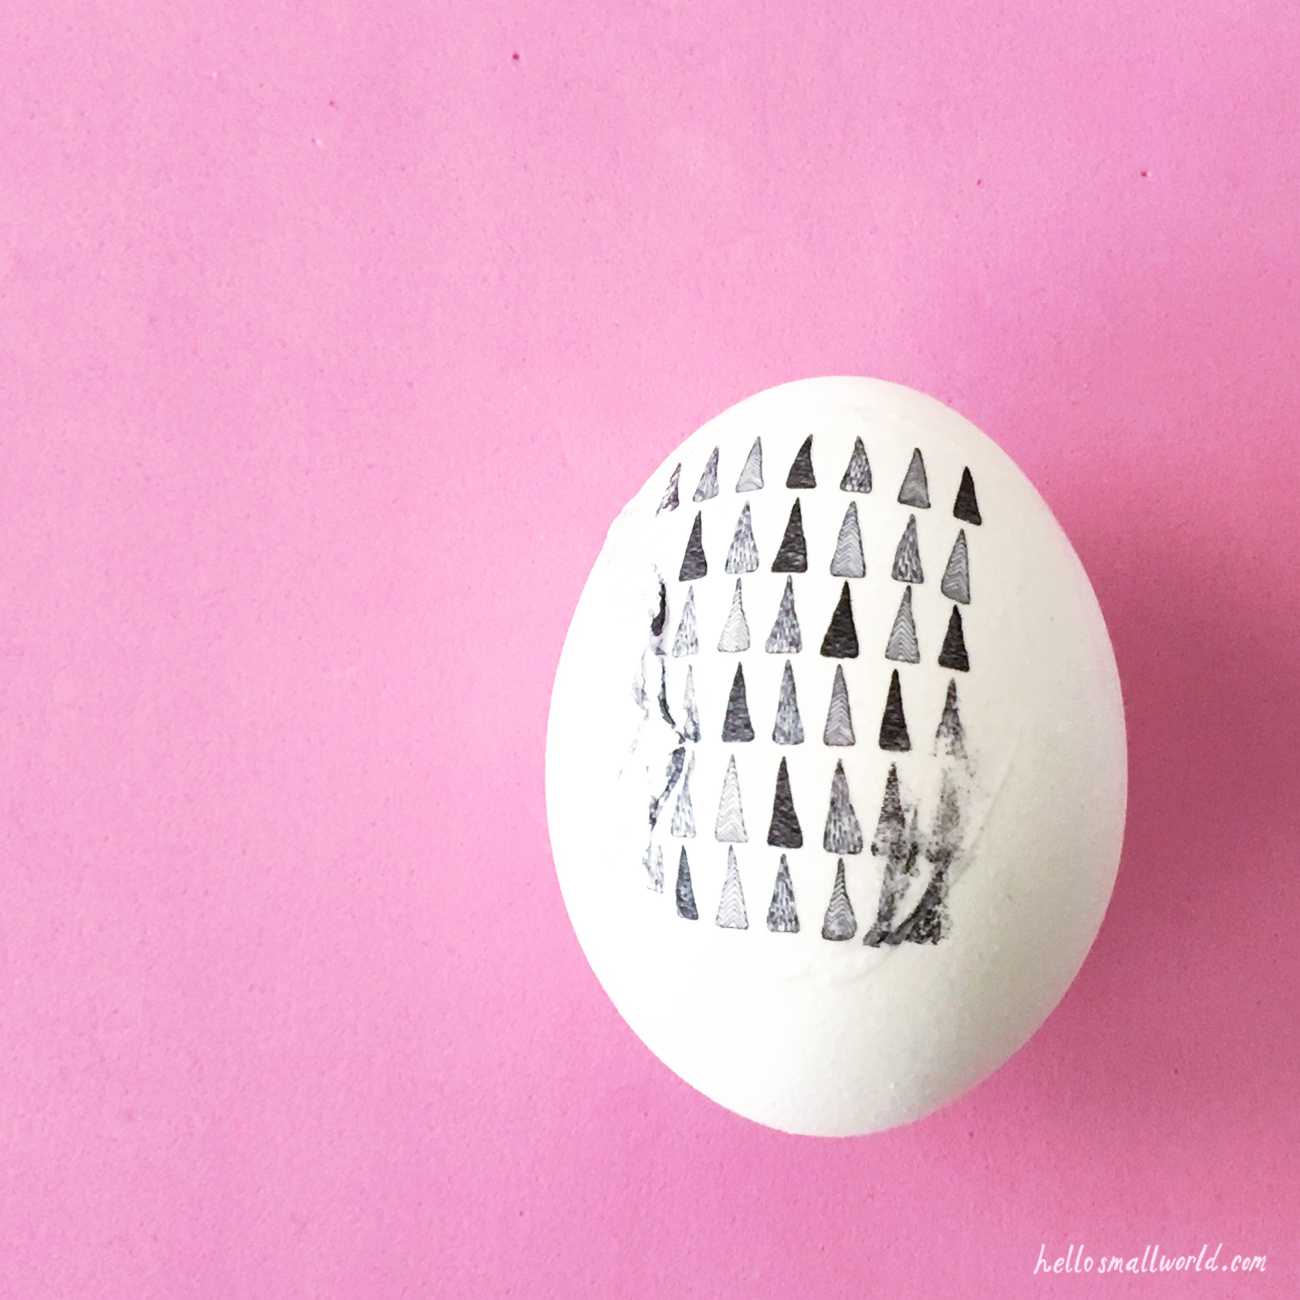
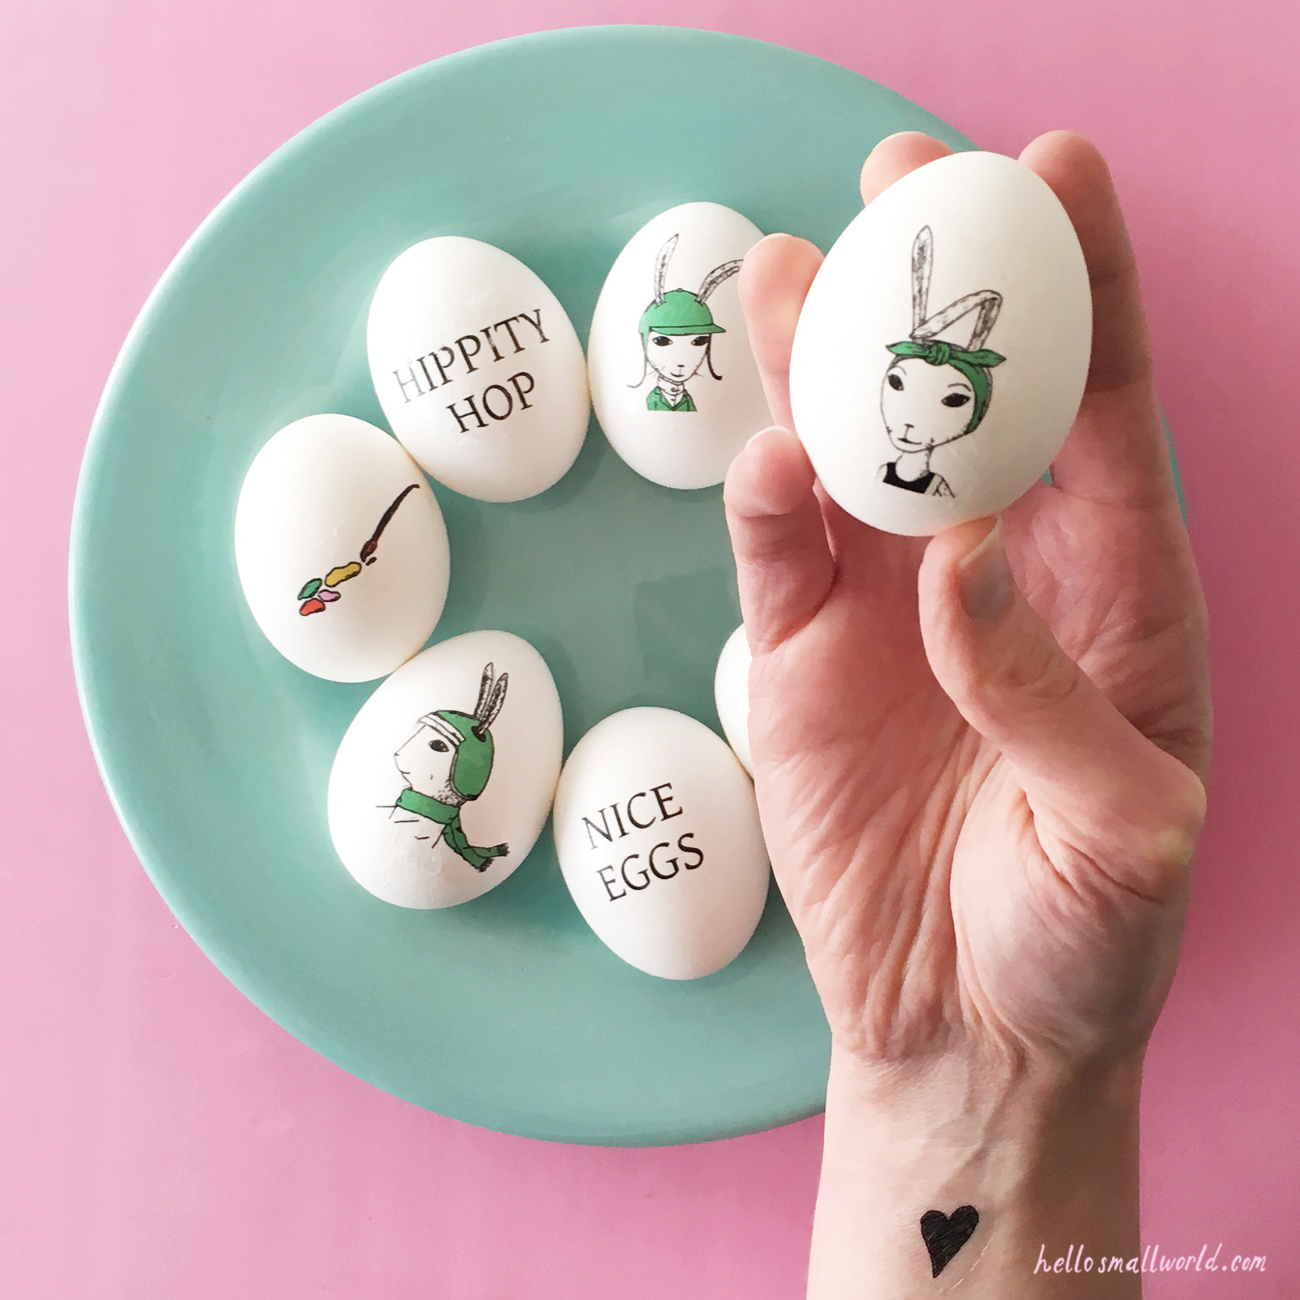
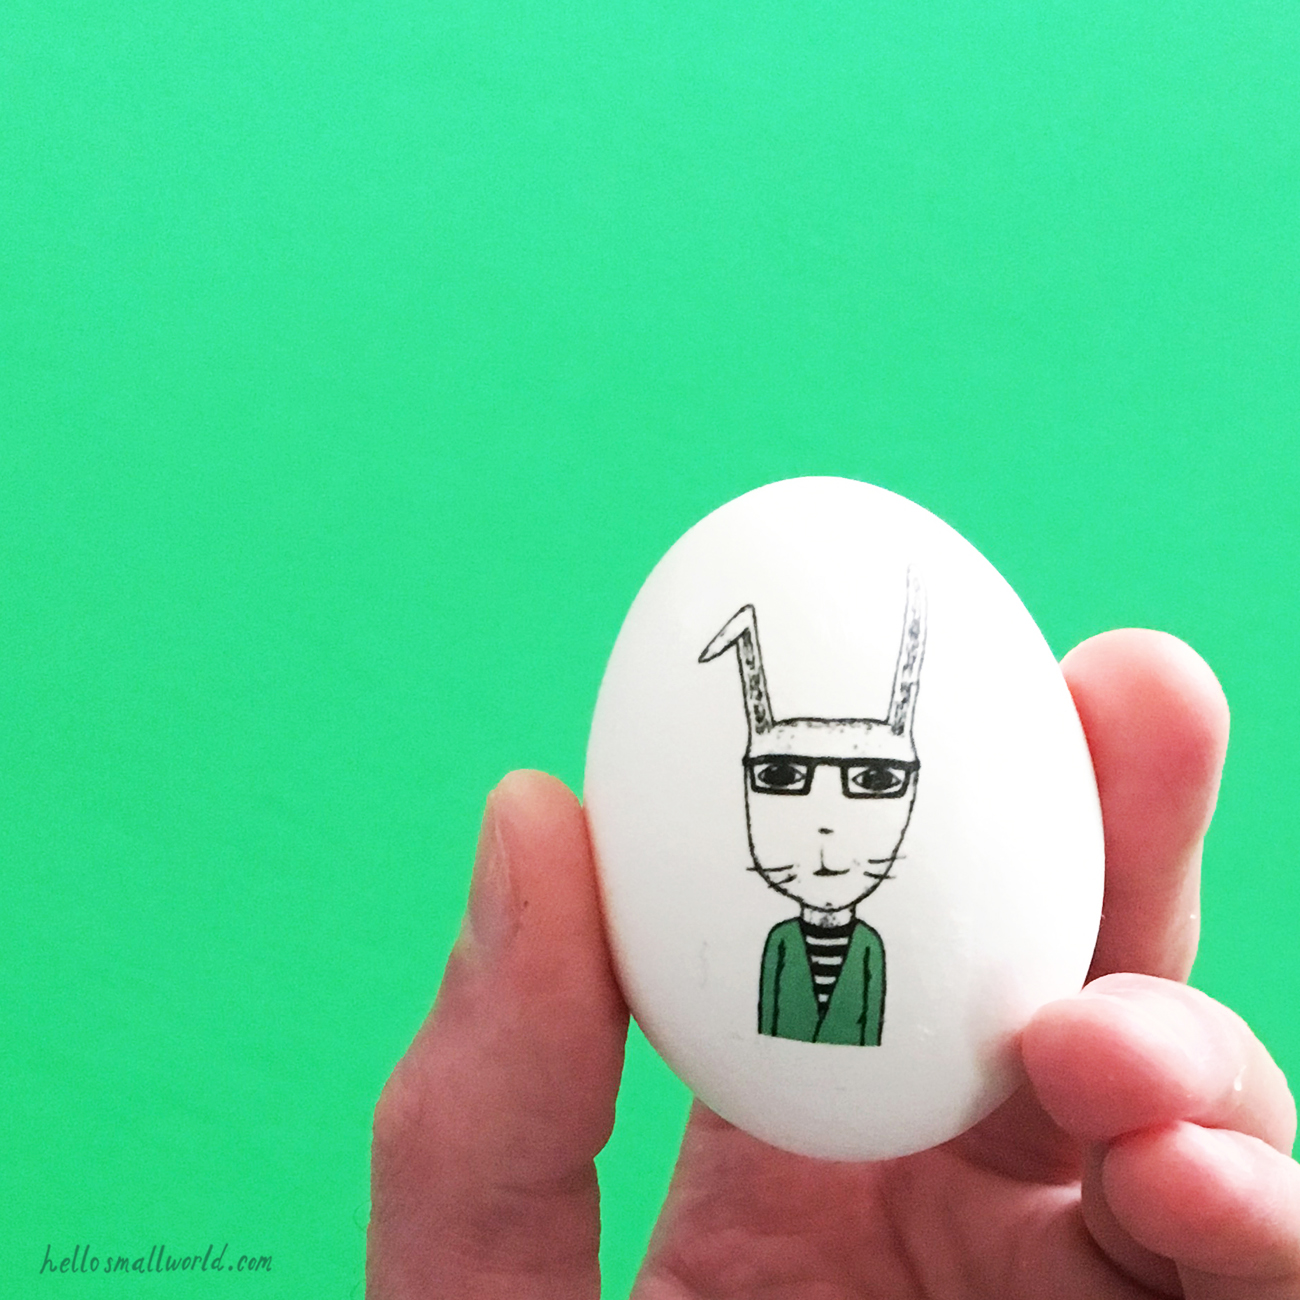
You pull off the plastic-like adhesive sheet and apply the adhesive side of the image to the egg. The adhesive messed up a bit each time I pulled it off so none of my eggs turned out “perfect”, but most of them still turned out looking pretty good. If I did it again, I would possibly take the time to cut the tattoos out better on my Cricut so the adhesive wouldn’t show so much. Although it seemed that the edges where I first pulled the sheets apart turned out the worse and if the design was there I may have ruined it more.
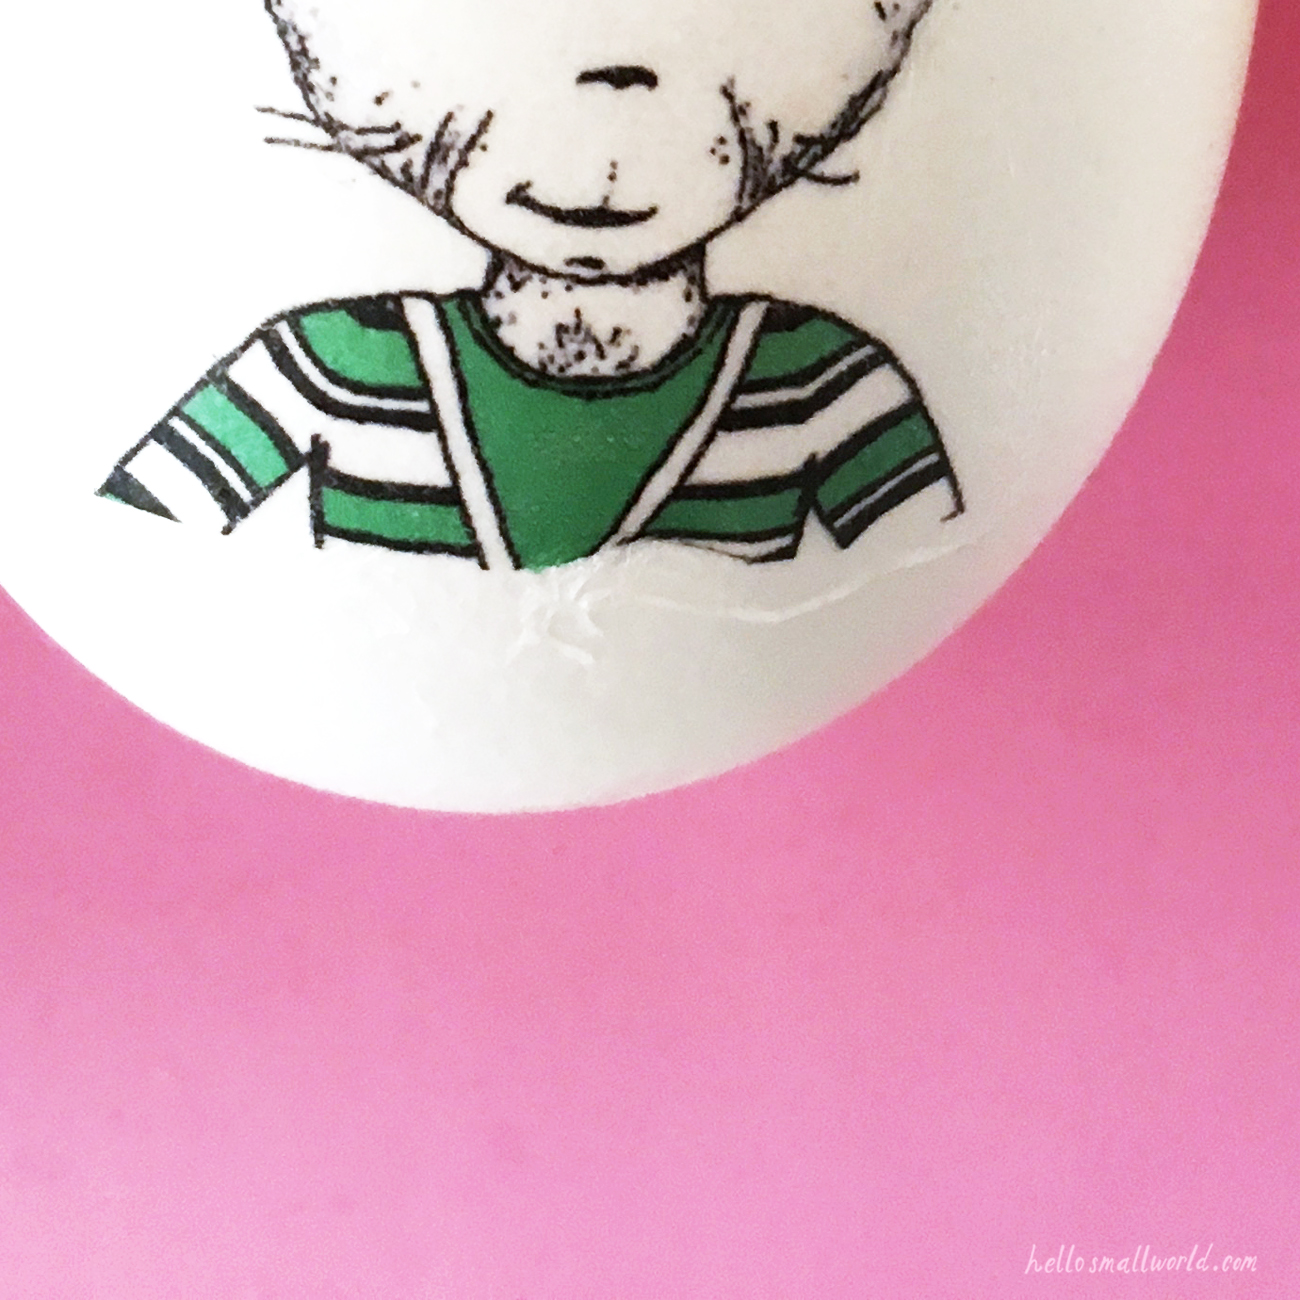
The whole project was a bit more work than I thought it would be from seeing it online. It’s a unique way to decorate Easter eggs and it is less messy than having messy dye dripping everywhere. I would try it again and I do like how versatile it is. My eggs didn’t turn out perfect, but it’s a fun way to decorate for sure!
Let me know how your eggs turn out! Did you cut out the fake tattoos with scissors or a Silhouette or Cricut? Did you find a fool-proof way to apply the tattoo to the egg? Did the adhesive pull off some when you separated the tattoo sheet from the adhesive?
![]()